Subtotal: 0.00 PHP

How to use henna
Henna’s not just the hippie colour your mum experimented with in the ‘70s. It’s the choice of natural hair dye for anyone who wants colour, gloss, and vibrance, without damaging their hair. Lush co-founder Mark Constantine created Lush's bespoke blends after decades of henna hair-dying experience, and fellow co-founder Helen Ambrosen reinvented them in an easy-to-use cocoa butter brick that gives beautiful results.
Before you start boiling the kettle, please read this FAQ to find everything you need to know about getting your desired shade from Lush henna.
How to apply Lush henna
Having assessed your hair and done your strand test, you’re ready to get cracking. Here’s exactly what you’ll need:
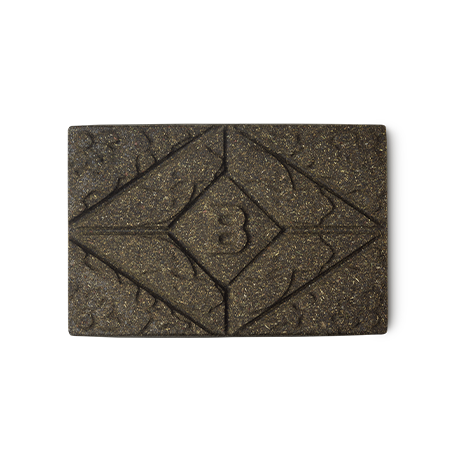
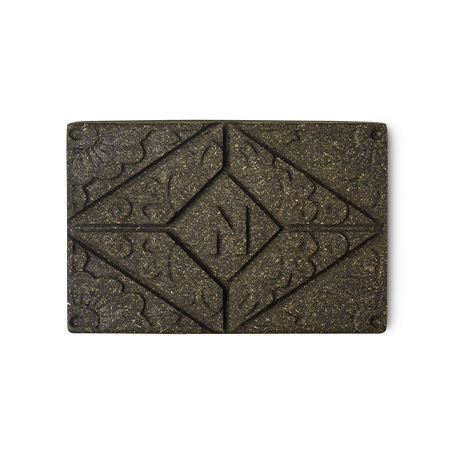
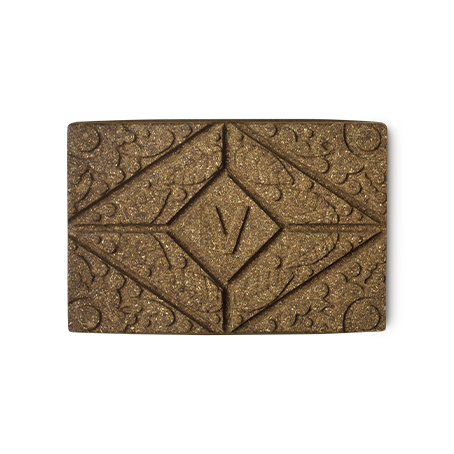
- Your chosen henna brick (more than one if your hair is very long and thick).
- A friend to help out, if possible.
- A pair of rubber gloves or trusty marigolds.
- A bain-marie (or heat-proof bowl in a saucepan), and a stirring spoon.
- An easy-to-clean henna station (we recommend your bathroom or kitchen with newspaper on the floor).
- Clips to section your hair.
- Dark coloured towels and clothing for you and your friend.
- Shampoo and conditioner, plus a protective balm, like Ultrabland or Ultrabalm.
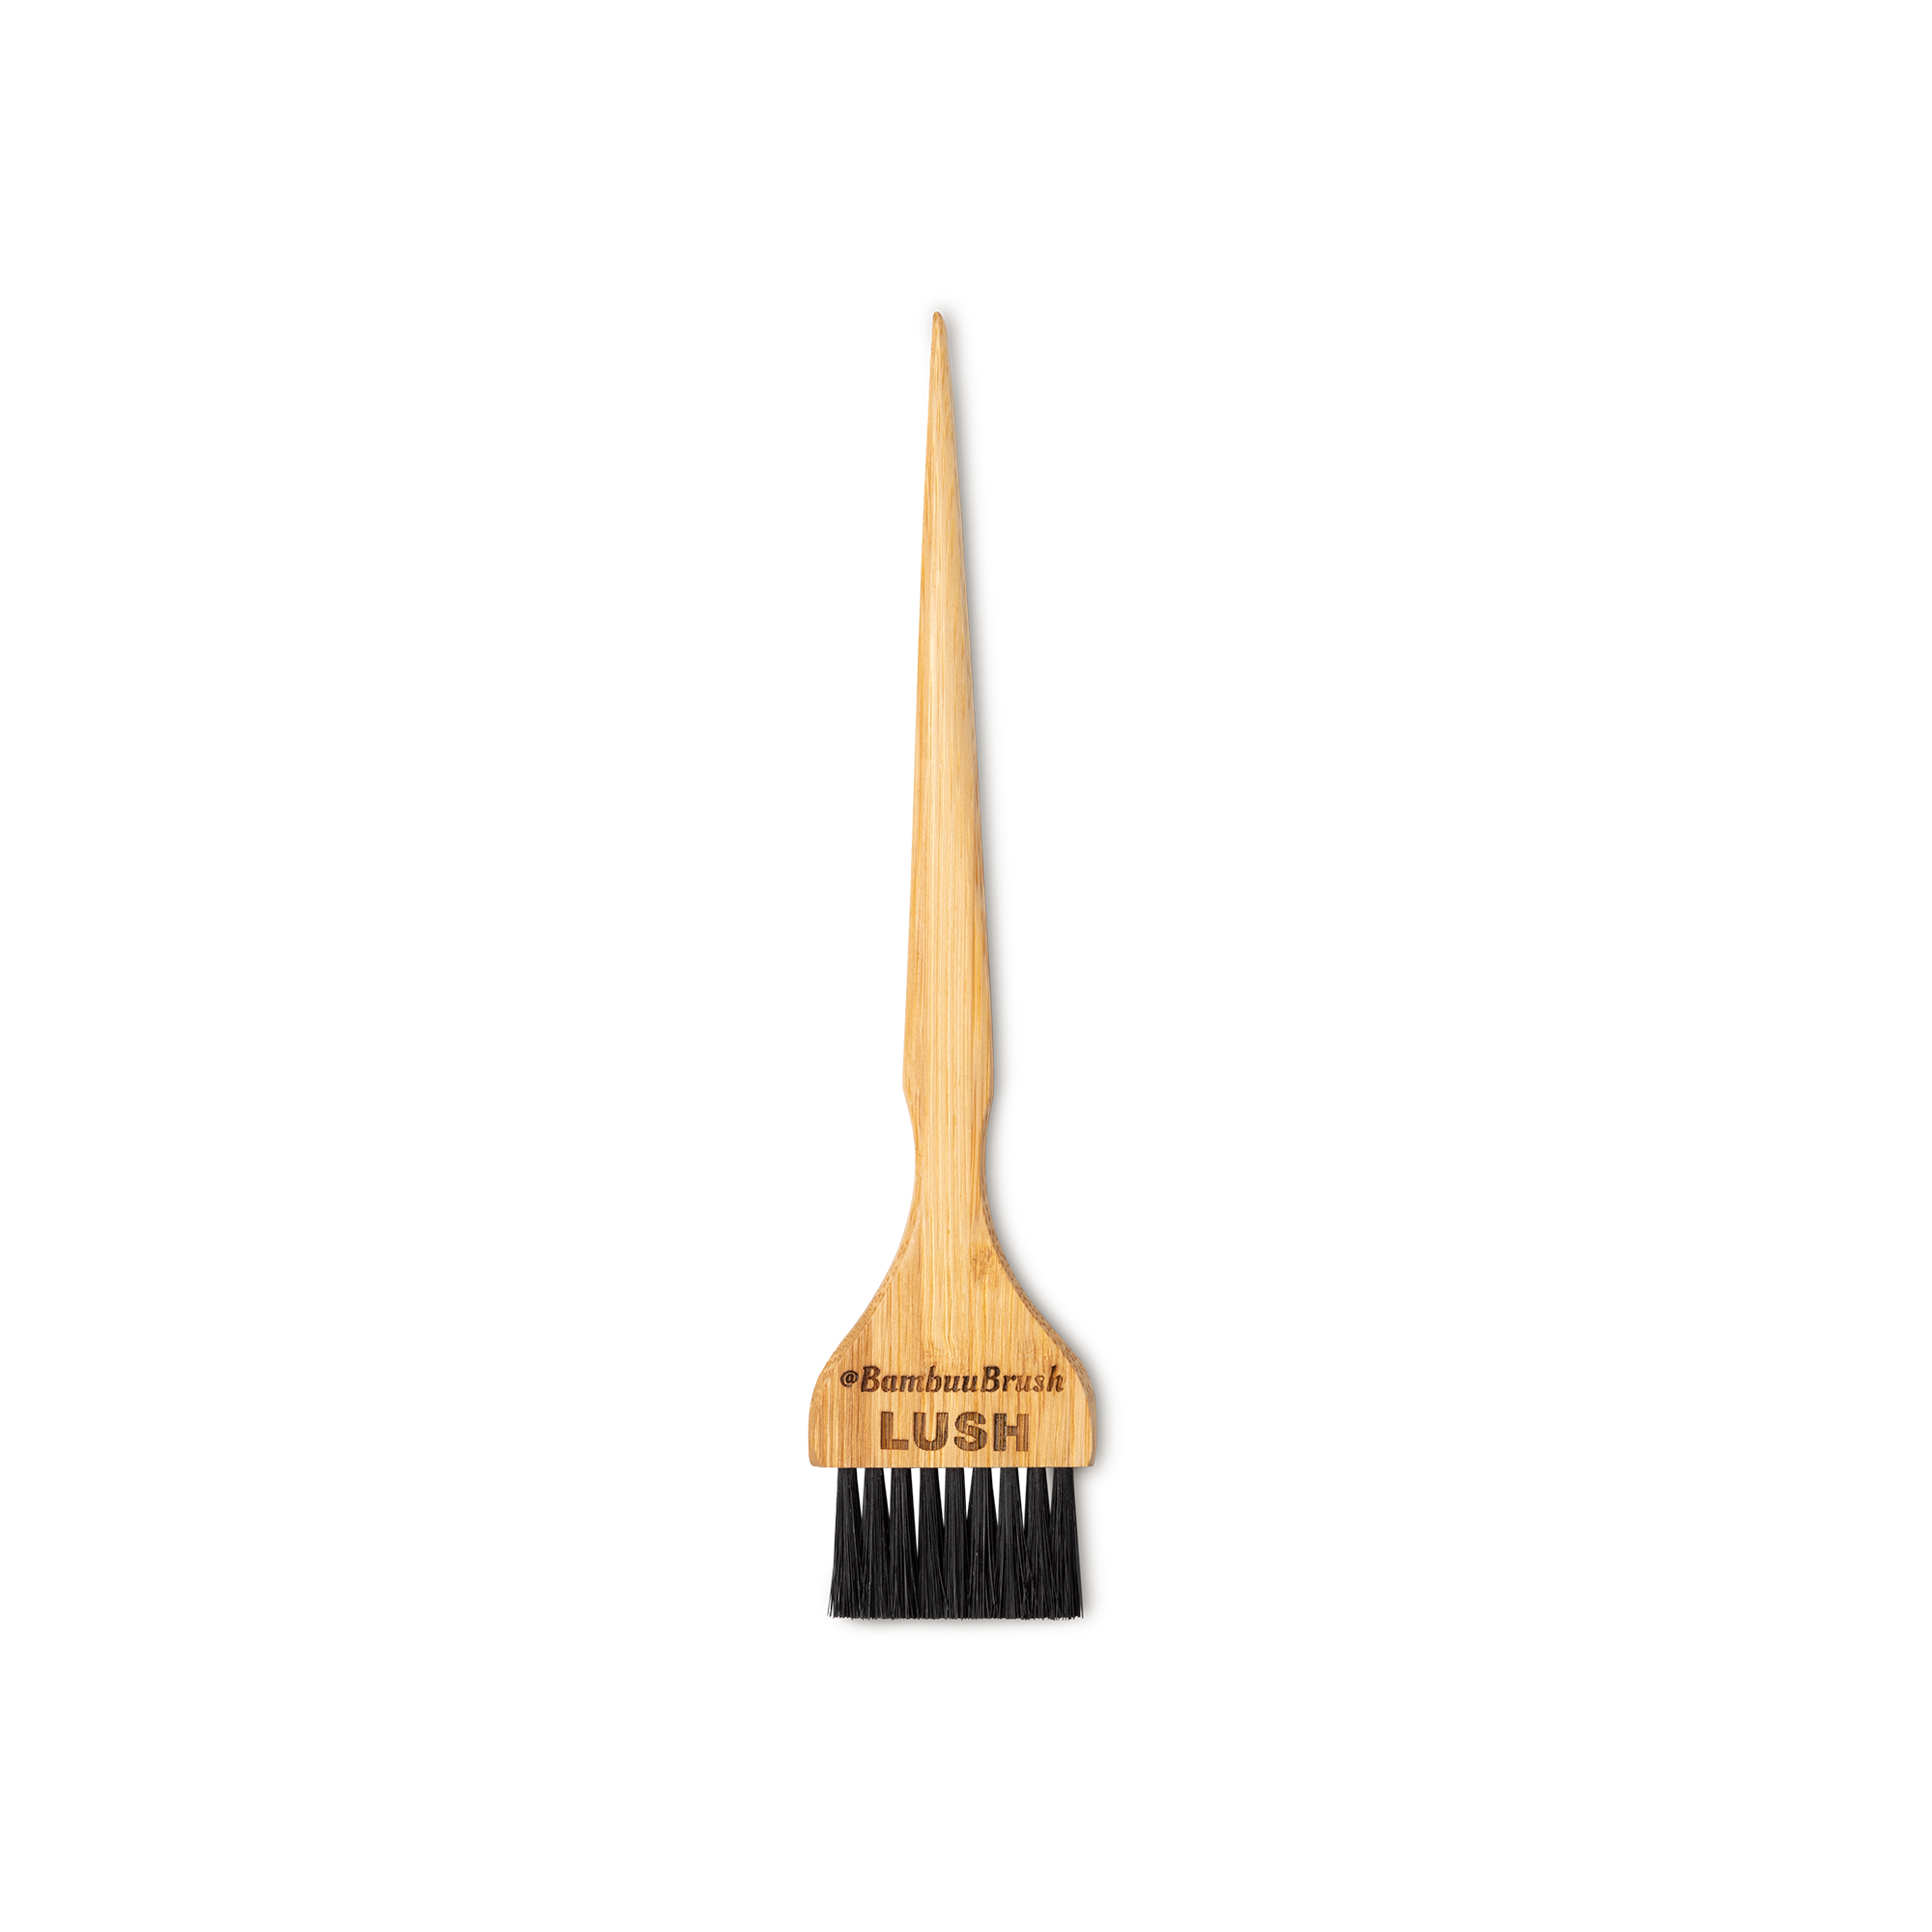
- Wide brush to apply henna (optional).
- Cling film or a shower cap if you’d like a more vibrant result.
Henna is best applied with a bit of help from a friend, especially if you are changing colour more dramatically but you can do it yourself - just allow extra time.
Step 1: Make sure your hair is clean and free of styling product. Wear dark clothing that you don’t mind getting a bit messy and apply your Ultrabalm or Ultrabland to the hairline and ears to prevent staining. Clip your hair up, leaving a section down at the back.
Step 2: Prepare your henna. Each brick is designed to be enough for one head of mid-length to long hair so short crops will need less, and very long hair will need more. Break the sections up carefully with a sharp knife, and place in your heat-proof container.
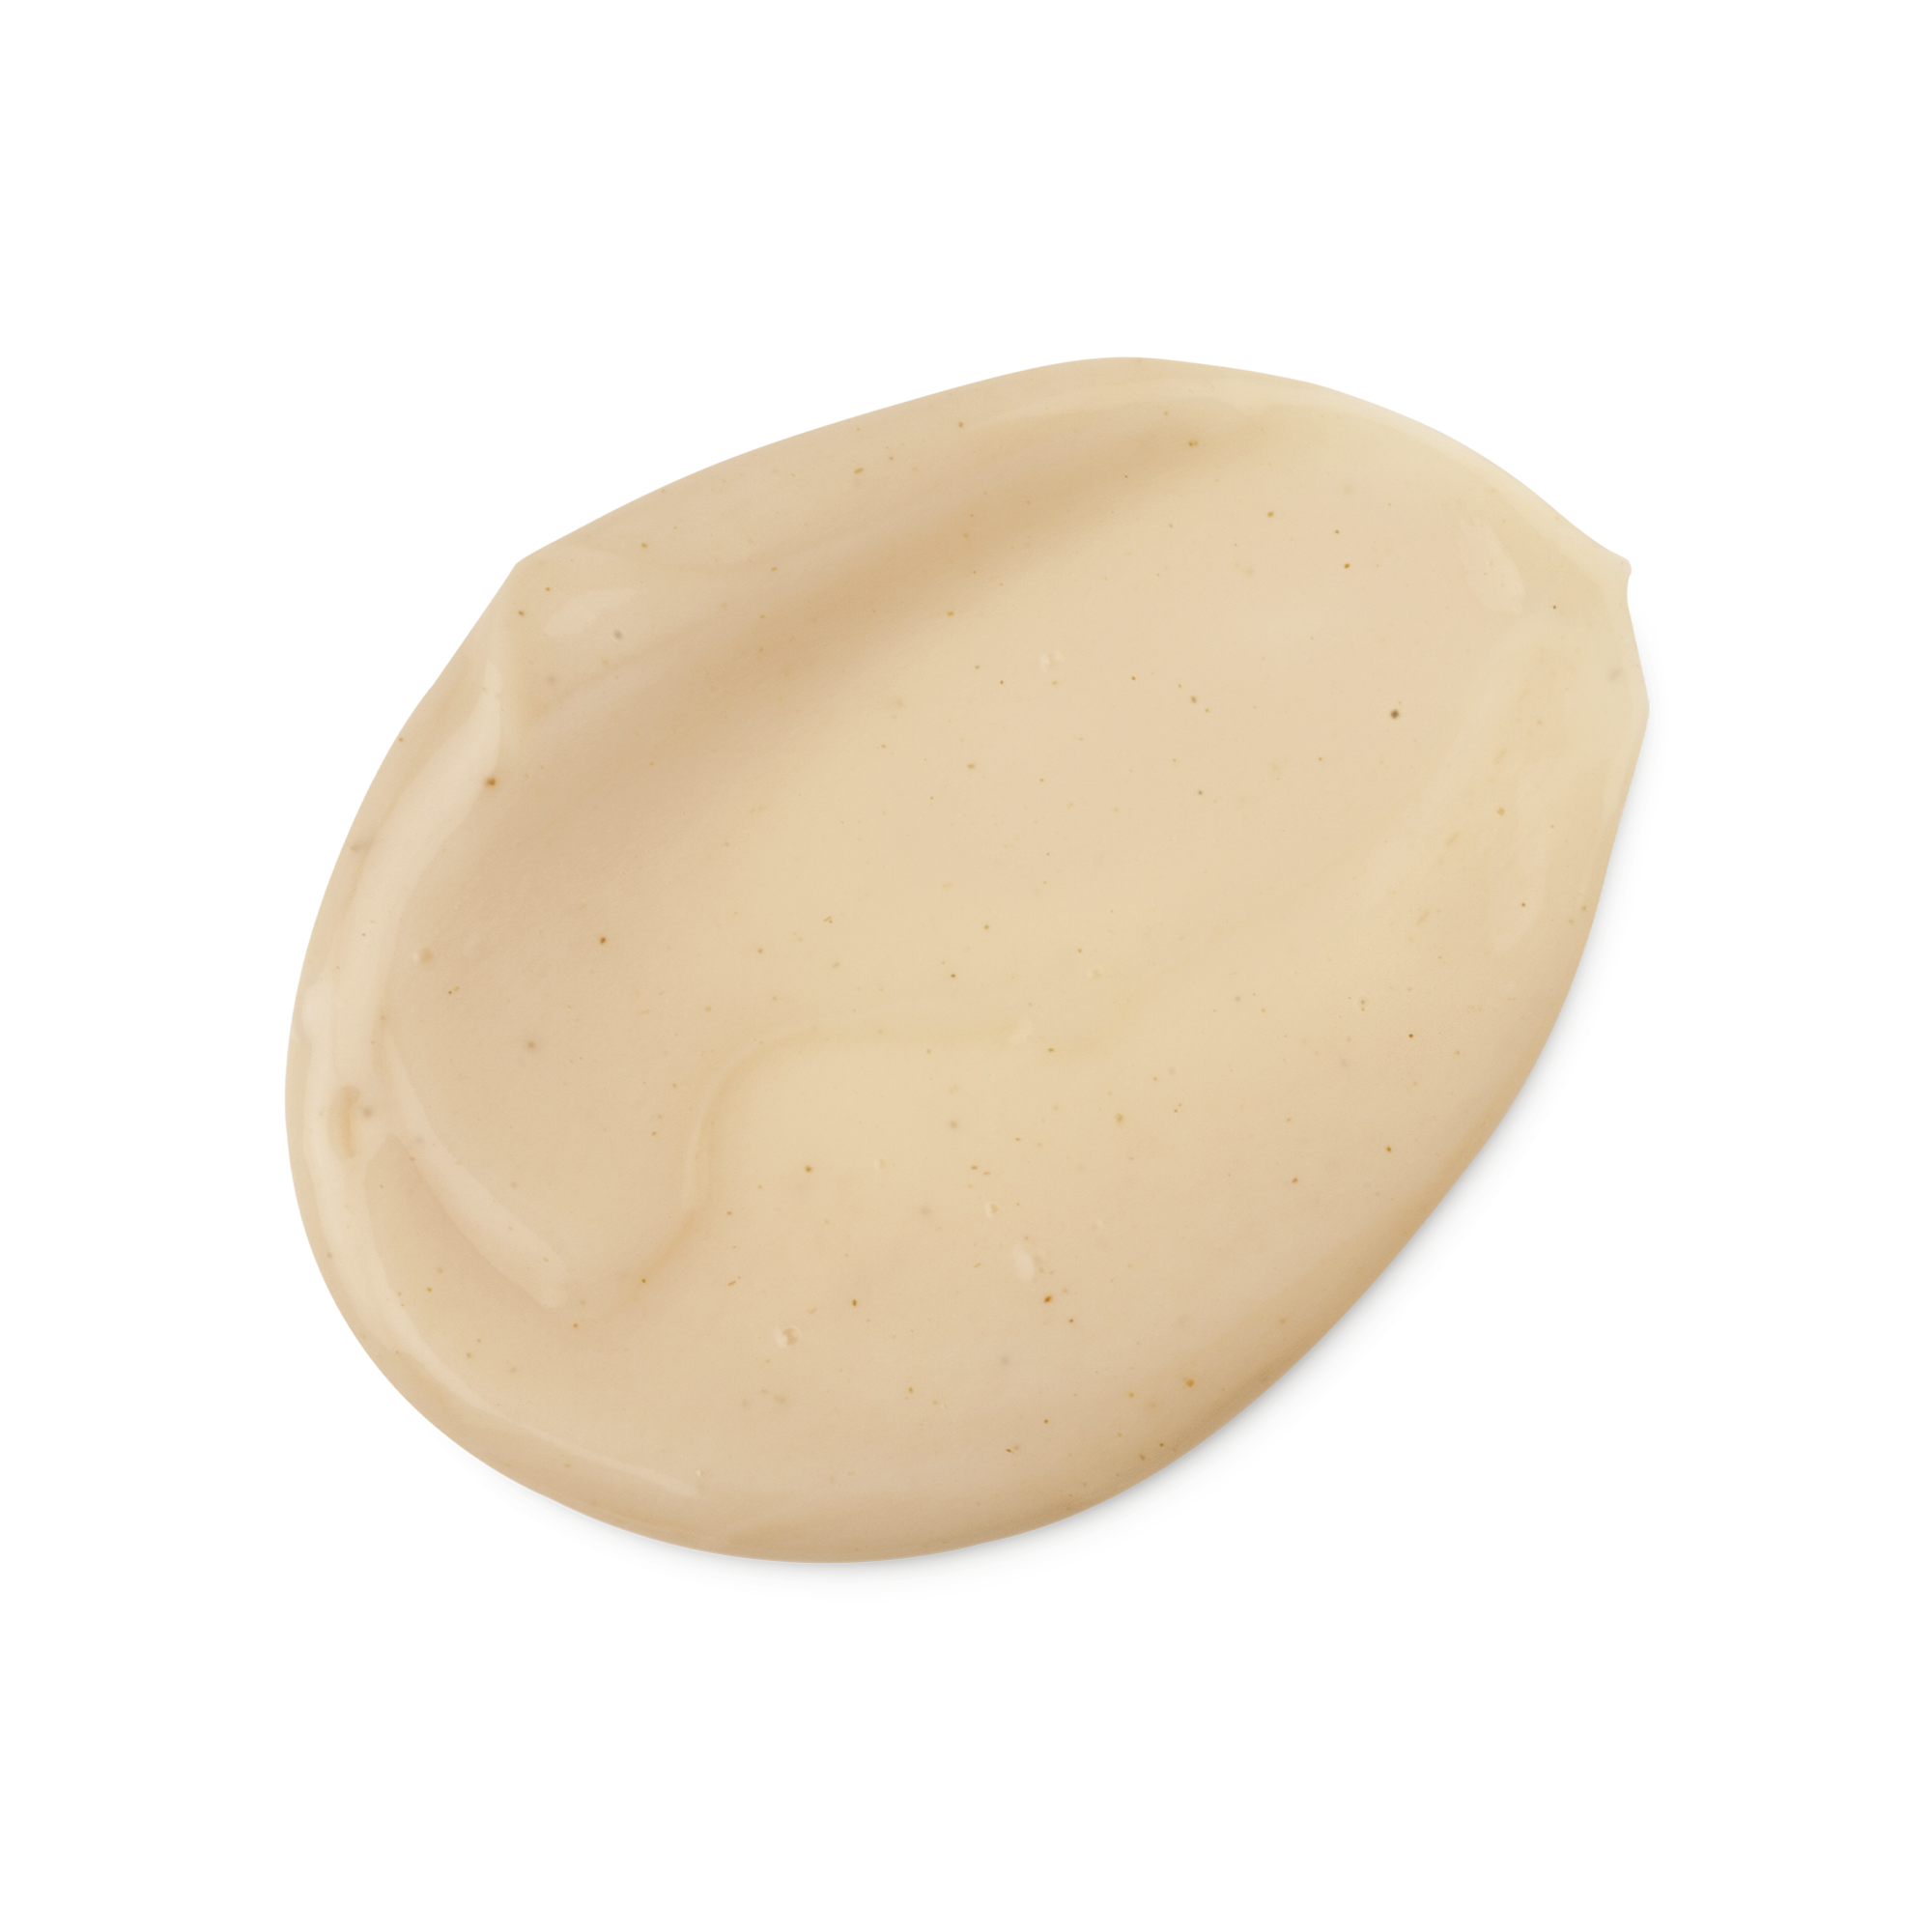
Step 3: Add some hot water to your saucepan and place your heat-proof bowl over the top, adding a little hot water gradually. Each cube roughly requires about 100ml of water, which should be added slowly during the process until you have a paste that resembles melted chocolate.
Step 4: Apply your henna in sections from the back of the head to the front, and from the roots downwards, using a brush or your hands. Henna takes longer to adhere to newer hair at the roots than more weathered or porous ends, so this technique enables a more even application and better coverage. Even if you’ve used a brush, you might want to finish with (gloved) hands to really coat the hair.
Step 5: If you are using Rouge or Marron and want a redder, more vibrant result, wrap your hair in cling film or a natty shower cap. This warms the hair and encourages the red colour in the henna to develop more fully. If you’ve used Brun or Noir and want a darker colour, keep the hair exposed to encourage the indigo to oxidise more fully. Taking a steamy bath is a great way to encourage your colour to develop. New henna applications should stay on the head for about two hours, but top-ups can take less time.
Step 6: Give your hair a really good rinse and shampoo to remove the henna (you may need to repeat this process), if possible, over the bath using a detachable showerhead. Rinse until the water runs clear.
You can apply another coat of henna as soon as your hair is dry if this is part of a two-step application, or wait a while. Both henna and indigo will continue to develop over a few days and so your end result may be subtly different from your first rinse away.